A live SharePoint form can sit inside your own website, on your contact page, your careers page, your campaign landing page, collecting submissions straight into your list while looking like part of the site. The embedding takes one script snippet pasted into the page and one authorization setting on the form, plus ten minutes for reCAPTCHA if the page is public, and this walkthrough covers every step: preparing the form, enabling external access, placing the snippet, authorizing the URL, protecting against bots, and testing the round trip. For where embedding sits among the hosting options, see hosting forms on non-SharePoint sites; for the foundation underneath, external public SharePoint forms.
What embedding gets you over the hosted page
The hosted option, the form at its own URL on pages we serve, is the fastest route to a public form, and for links, emails, and QR codes it is usually the right one. Embedding earns its extra ten minutes when the form is part of a journey on your site: the visitor reading your careers page should apply on your careers page, not be bounced to a different domain mid-decision. The embedded form inherits the page around it, your navigation, your brand context, your analytics, and to the visitor it is simply your website asking a question, with SharePoint invisible behind it.
One thing embedding does not change: the form itself. It is the same form either way, designed once, and the same submission machinery runs behind both doors. Many solutions sensibly run both, the embedded instance on the website, the hosted URL on the poster.
Step 1: build the form for the audience
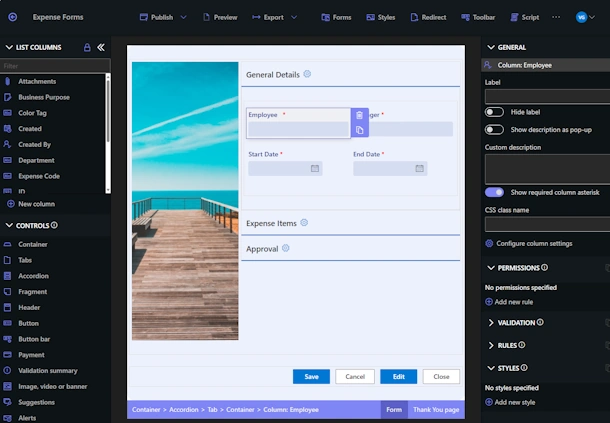
Before any embedding, make the form worth embedding. Design it in Form Designer as the public will meet it: only the columns the visitor should answer, validation that guides rather than ambushes, conditional sections for relevance, and a Thank You page that confirms the submission, external forms use it automatically. Anything internal, status columns, triage machinery, reviewer notes, stays off the public form through permission rules. Style it toward the destination page: the form will sit inside your site's layout, so its theme and colors should agree with their new neighbors.
Step 2: enable external access
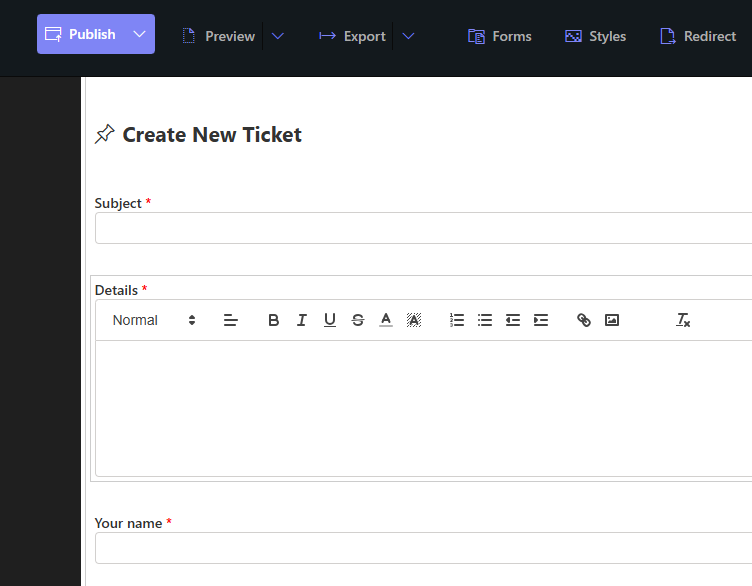
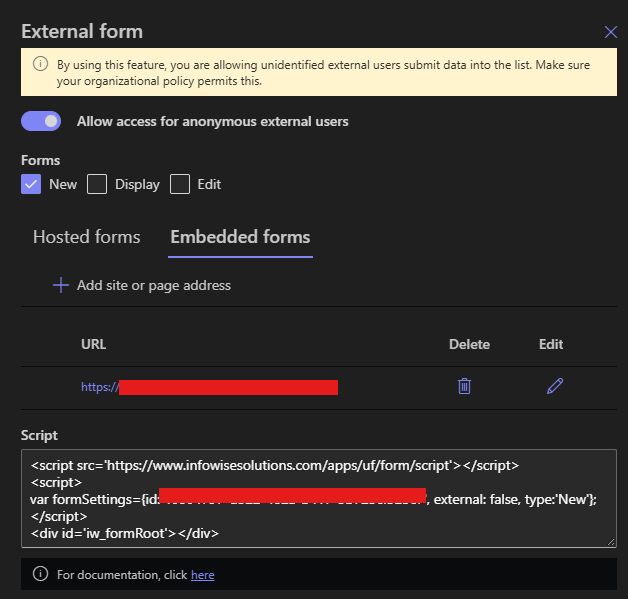
On the form in Form Designer, click External form and enable external access. By default only the New form is exposed, which is right for nearly every website scenario, a contact page needs the mail slot, nothing more. Note the embedded option alongside the hosted link: this is where the integration assets live.
Step 3: copy the script snippet
The embedded option provides a script snippet, a small block of markup that renders the live form wherever it is placed. Copy it as given; it carries the form's identity, and nothing in it needs editing.
Step 4: authorize your page's URL
In the form's settings, enter the page URL where the form will live, your site's contact page address, say. This is the security half of embedding: the form loads only on pages whose URLs you have authorized, so the snippet is useless anywhere else, lifted, scraped, or rehosted. List each page that will carry the form, and treat the list as the inventory it is, a page retired from the site should leave the list too.
Step 5: place the snippet in your page
On the website side, the requirement is one containing element, a div where the form should render, with the snippet pasted inside it. Every mainstream platform has a door for this: an HTML or embed block in WordPress and its peers, a code element in the page builders, or the template itself on a hand-built site. Give the container sensible width, the form is responsive and will fill what it is given, and publish the page. If your site is edited by a web team, this step is the whole of what you need from them: one block, one paste, no integration project.
A placement worth designing
Where the form sits on the page quietly decides how many people finish it. The patterns that convert are unglamorous: the form visible without scrolling on a dedicated page, or one short scroll below the pitch on a landing page, with a single heading above it that repeats the promise ("Tell us about your project, we reply within one business day"). Resist decorating around it, competing buttons and sidebars near a form are exits, and resist duplicating it, one form per page keeps the analytics readable and the visitor unconfused. If the same form serves several pages, authorize each URL and let the page context do the tailoring; if different audiences need genuinely different questions, build two forms rather than one compromised one, since forms are cheap and attention is not.
Step 6: add reCAPTCHA
A public page with a working form will be found by bots, so this step is strongly recommended for any open page. The forms support Google reCAPTCHA v3, the invisible kind: no puzzles, no checkboxes, humanity judged from interaction patterns. Sign up for reCAPTCHA v3 with Google, register your site, and enter the Site key and Secret key in the embedded form's properties. Hosted pages carry reCAPTCHA already; the embedded form on your page needs these keys to get the same shield, and the ten minutes this takes is the cheapest spam filter you will ever install.
Step 7: test the round trip
Open the published page as a visitor would, ideally in a private browser window and once from a phone, and submit a test entry. Confirm four things: the form rendered inside your page with your styling intact; the validation behaved, try a bad email on purpose; the Thank You page appeared after submission; and the entry landed in the SharePoint list with every value in place. Then confirm the machinery behind it, the alert that should notify your team and the actions that should route the entry, because the website form is the front door of a process, and the test should walk the whole hallway.
If the form does not render, the checklist is short: the page URL in the authorization setting must match the page actually serving the snippet, the snippet must sit inside the published page (some CMS preview modes behave differently from published pages), and external access must still be enabled on the form.
Living with an embedded form
Two properties make the arrangement pleasant long after launch. Changes publish themselves: the embedded instance is the live form, so a new question, a tightened validation, or a reworded label is one edit in Form Designer, and the website serves the new version immediately, with no web-team ticket and no version skew, the maintenance dividend of one definition behind every surface. And the off switch is yours: disabling external access kills the form everywhere that instant, which is the clean end for a campaign page or a closed application window, the page can even stay up, with the form section swapped for a "submissions closed" note.
From there, the embedded form joins everything the cluster builds: the entries are list items, so the feedback pipeline, the application system, and the personal edit link for returning submitters all apply unchanged. The website asked the question; SharePoint runs the answer.
Add your comment